I'm here to share some crazy delicious recipes, help you learn the basics of cooking, and give you the power to become a total rockstar in your kitchen. Let's do this!
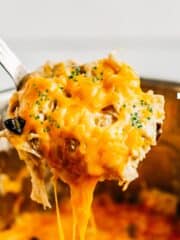
Trending Recipes
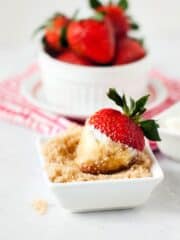
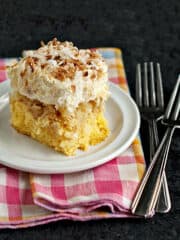
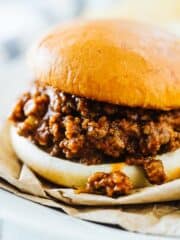
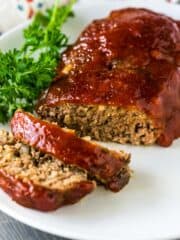
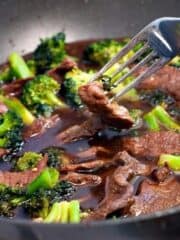
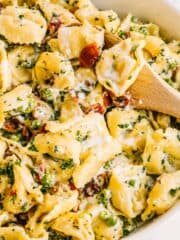
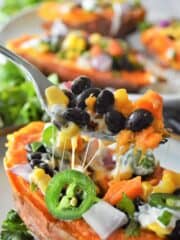
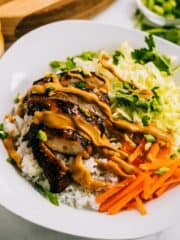
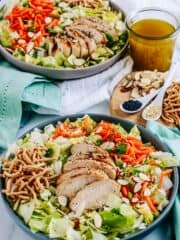
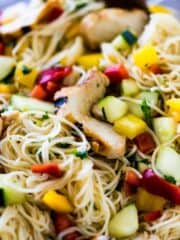
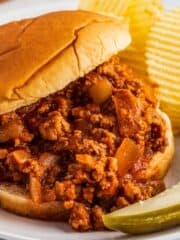
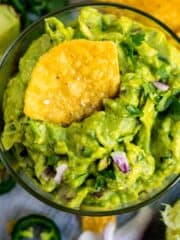
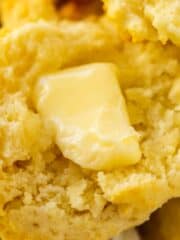
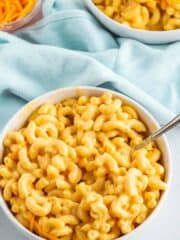
These are the recipes that the internets are absolutely loving right now! Some are dinner, some are dessert, and all of them are crazy delicious!

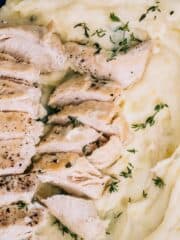
Family Dinner Recipes
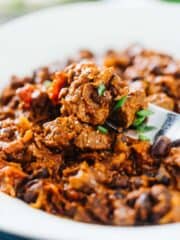
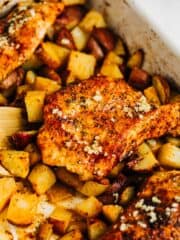
We’re all about feeding our families here! From one-pot meals and sheet pan dinners to grilling the perfect steak, we’re got dinner time covered!

See more dinner recipes →
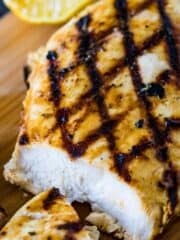
Grilling Recipes
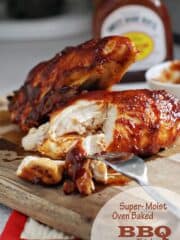
The weather's getting warmer, so break out that grill and make something mouthwatering!
See more Grilled Recipes→

Hi, I'm Heather!
If you haven’t figured it out yet, I kind of like food. I’m a former chef, caterer, and culinary arts school graduate that just wants to help you feel like a rockstar in your kitchen!
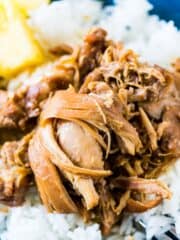
Instant Pot Recipes

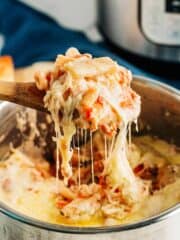
See more Instant Pot Recipes→
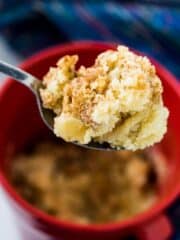
Newest Recipes
Check out our freshest, most recent recipes to hit the site!
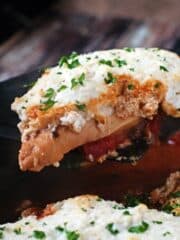
Recently Updated
While a good recipe never goes out of style, sometimes bad photos or blog posts do. 🙂 These are recipes that have been recently been given a makeover of some kind.